Plugging in a new pair of headphones should feel exciting rather than frustrating, yet many gamers still fumble with cables, drivers, and mismatched ports before they ever hear a single sound effect. Whether you've just unboxed a premium set or a budget-friendly pair, getting your gaming headset talking properly to your PC is simpler than it looks once you understand the basics. This guide walks through the connection methods, setup steps, and audio tweaks that will have you chatting with teammates and hearing every footstep in no time.
Key takeaways
- Understanding whether your headset uses a wired connection via 3.5mm jack or USB, or a wireless connection via Bluetooth or a dedicated dongle, is the first step to successful setup.
- Wired connections offer reliable performance without battery concerns, while wireless options provide greater movement freedom through either Bluetooth or low-latency USB dongles.
- Desktop PC users should utilize rear panel ports for the most stable connection, whereas laptop users may rely on a single combined jack or USB-C hubs to manage limited port availability.
- Windows automatically detects most headsets, but users should verify the connection in the Device Manager to ensure all drivers are properly installed.
- Optimizing audio performance requires manually selecting the headset as the default device in Windows Sound settings and adjusting sample rates for better quality.
- Enabling spatial audio enhancements and configuring microphone settings can significantly improve the competitive advantage by helping players pinpoint in-game sounds more accurately.
Understanding your gaming headset connection options for pc
Before you even touch a cable, it helps to know which type of headset you own, since this dictates how you'll connect it. Broadly speaking, gaming headsets fall into two camps: wired and wireless. Both have their merits, and the right choice often depends on your setup, your budget, and how much you value freedom of movement versus rock-solid reliability.
Wired gaming headset connections: usb and 3.5mm jack methods
Wired headsets remain popular because they're straightforward and rarely suffer from interference or battery anxiety. The classic 3.5mm jack is still found on most desktops and laptops, offering a simple analogue connection for both audio output and microphone input. Some headsets use a single combined jack, while others split into separate audio and mic connectors, particularly on older machines. Alternatively, many modern headsets connect via USB, which carries digital audio and often includes onboard sound processing for richer quality. The Logitech G Astro A10, praised as a brilliant budget-friendly wired option, exemplifies how a humble USB or jack connection can still deliver impressive clarity without breaking the bank. For those chasing something more premium, the SteelSeries Arctis Nova Pro stands out as a top-tier wired choice, showing that cables needn't mean compromise.
Wireless gaming headset connections: bluetooth and usb dongle technology
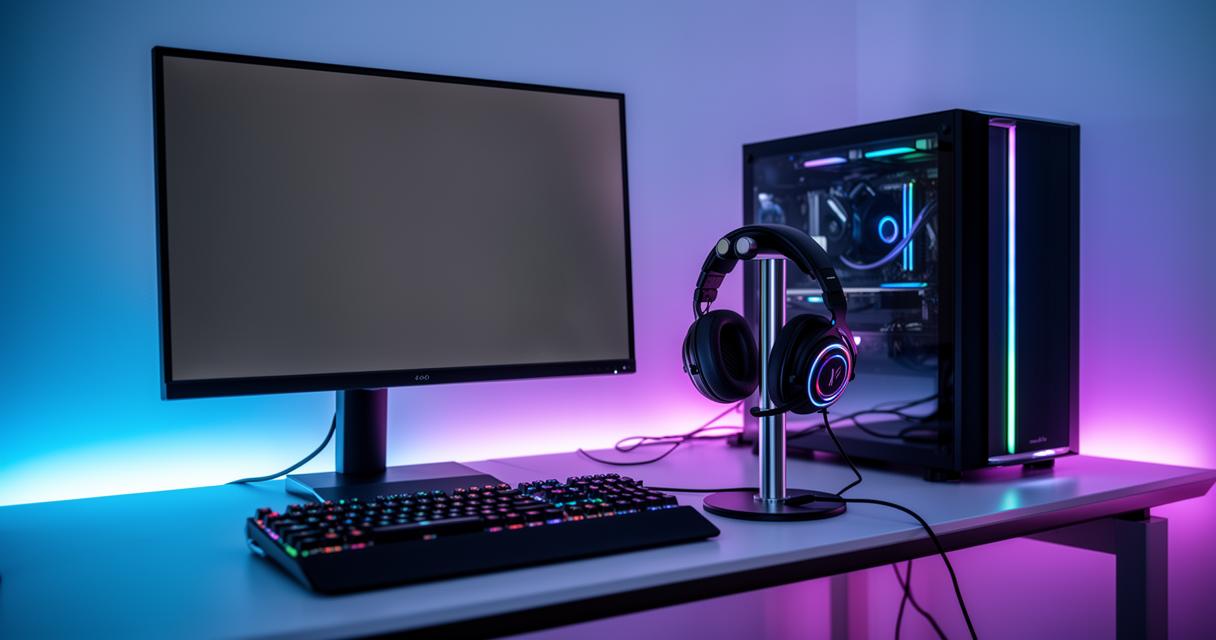
If tangled cables aren't your thing, wireless headsets offer welcome liberation. Two main technologies dominate this space. Bluetooth pairs directly with your PC's built-in wireless capability or an external adapter, making it convenient but occasionally prone to slight latency during fast-paced gaming. The more gaming-focused alternative is a dedicated USB dongle, which creates a low-latency wireless link specifically tuned for responsive audio. The SteelSeries Arctis Nova Pro Omni, widely regarded as the best wireless headset overall, uses this kind of dongle technology to deliver near-instantaneous sound with excellent noise-cancelling performance. Meanwhile, the Razer Barracuda X proves that budget-friendly wireless doesn't have to mean sacrificing responsiveness, and even quirky options like the Razer Kraken Kitty V2 BT show that Bluetooth connectivity can be both functional and fun.
Step-by-Step Guide to Connecting Gaming Headsets to Desktop and Laptop PCs
Once you know your connection type, the actual setup process is refreshingly quick. The steps differ slightly depending on whether you're working with a desktop tower or a slim laptop, but the underlying logic remains consistent.
Connecting Your Gaming Headset to a Desktop PC: Port Identification and Setup
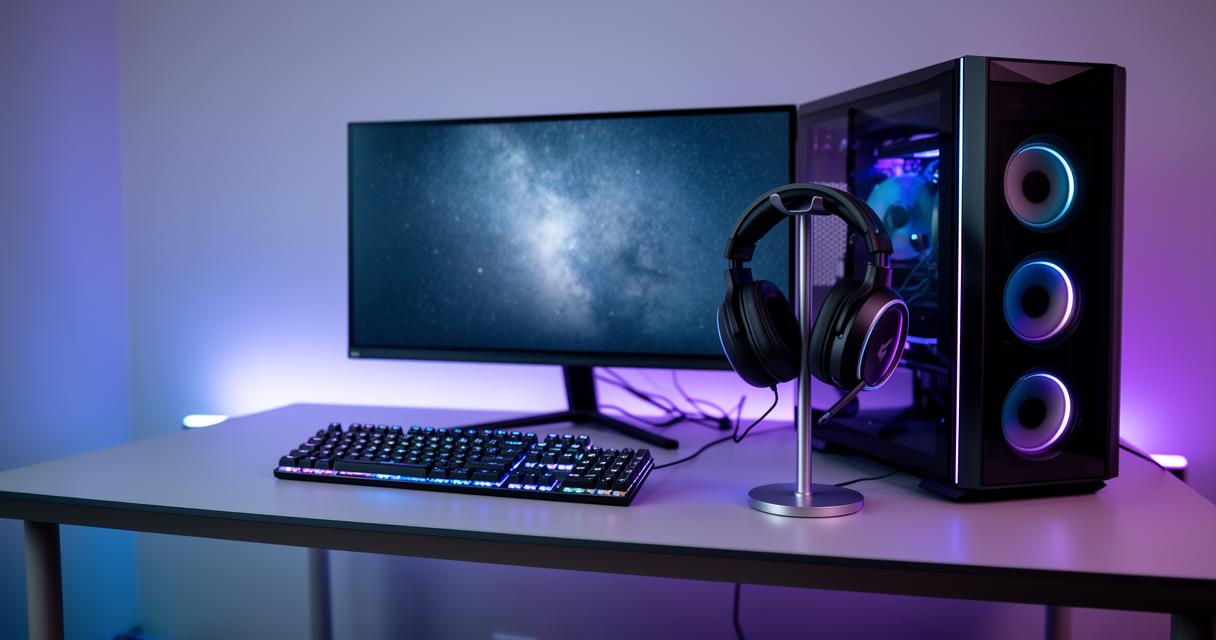
Desktop PCs typically offer the widest range of ports, found either on the rear I/O panel or the front of the case. Look for colour-coded 3.5mm jacks, usually green for output and pink for microphone input, or a dedicated USB port if your headset uses digital connection. For wireless models, simply plug the USB dongle into any free USB port, ideally one on the rear panel closest to your motherboard for the most stable signal. Once connected, Windows should automatically detect the device, though it's worth checking Device Manager to confirm everything has installed correctly. Headsets like the Logitech G Astro A50 X, celebrated for its clever HDMI-switching capability, even allow you to route audio from multiple sources through a single base station, which is particularly handy for those juggling console and PC gaming side by side.
Connecting Your Gaming Headset to a Laptop: Portable Gaming Audio Solutions
Laptops present a slightly different challenge, given their limited port selection. Most modern laptops retain a single combined 3.5mm jack for audio and microphone, while USB-A or USB-C ports handle digital headsets and dongles. If your laptop lacks sufficient USB ports, a small hub can bridge the gap without fuss. Bluetooth headsets are particularly well-suited to laptop use since most machines have built-in Bluetooth radios, meaning you simply enable Bluetooth in your settings, put the headset into pairing mode, and select it from the list of available devices. This portability makes options like the Razer Barracuda X especially appealing for gamers who split their time between a desk setup and gaming on the move.
Configuring audio settings for optimal gaming sound quality
Physically connecting your headset is only half the job. To truly unlock its potential, whether you own an entry-level pair or something as refined as the SteelSeries Arctis Nova Elite favoured by audiophiles, you'll need to dive into Windows' sound settings and tailor them to your headset's strengths.
Adjusting windows sound settings for peak gaming headset performance
Head into your Sound settings and ensure your headset is selected as both the default playback and communication device. From there, explore the device properties to adjust sample rates and enable any spatial audio enhancements your headset supports. Many premium headsets, including open-back designs like the Turtle Beach Atlas Air, benefit from higher sample rates that showcase their wider soundstage and natural tonal balance. Taking a few minutes to fine-tune these settings can make a noticeable difference, especially when trying to pinpoint distant footsteps or gunfire in competitive titles.
Fine-Tuning Microphone and Playback Settings for Competitive Gaming
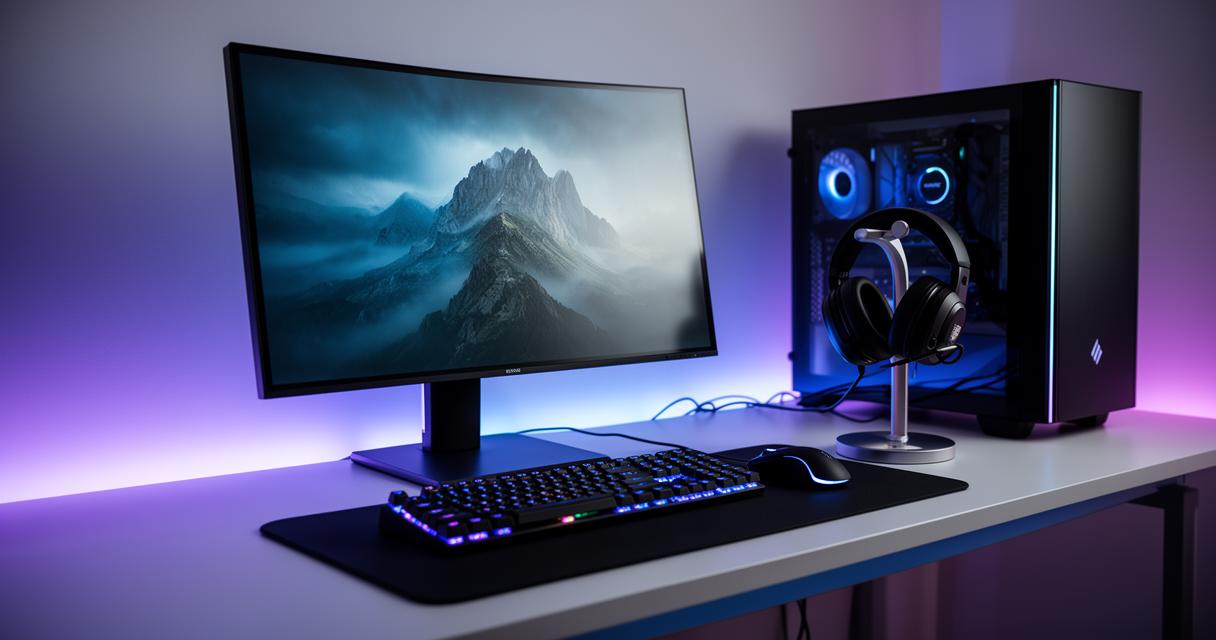
Clear communication matters just as much as sharp sound effects, particularly in team-based games where callouts can decide a match. Within the Recording tab of Windows Sound settings, adjust your microphone's input volume and enable noise suppression if available, as this helps filter out keyboard clatter and background hum. Headsets such as the Razer BlackShark V3 Pro, recognised as a leading midrange noise-cancelling option, pair particularly well with these software tweaks, delivering crisp vocal clarity even in noisy environments. Reviewers who conduct thorough product testing across the industry consistently highlight that mic clarity, comfort, and sound quality form the backbone of any trustworthy rating system, and getting your software settings right ensures your hardware can perform to its full rated potential.
Independent testing organisations covering consumer electronics, from headphones and wireless speakers to routers and streaming devices, evaluate more than 1,500 products annually to help buyers make informed decisions. This kind of comprehensive testing, built on decades of trusted reviews, reinforces just how much careful setup and calibration can influence real-world performance. Once your gaming headset is properly connected and configured, you'll notice sharper audio cues, clearer voice chat, and an overall more immersive experience, proving that a little patience during setup pays off handsomely once you're back in the action.